Customize Your Application - Get To Know The Application Builder
The Application builder is where all the magic happens. This is where you can:
- Share filtered views without sharing the master database.
- Create forms that submit new pages to the selected database.
- Create automations (similar to Notion’s Button).
Prerequisites:
- Create your organization.
- Connect to your Notion workspace.
- Create your first application.
All three prerequisites are covered in the first two guides:
Customize Your First Notion-powered Application:
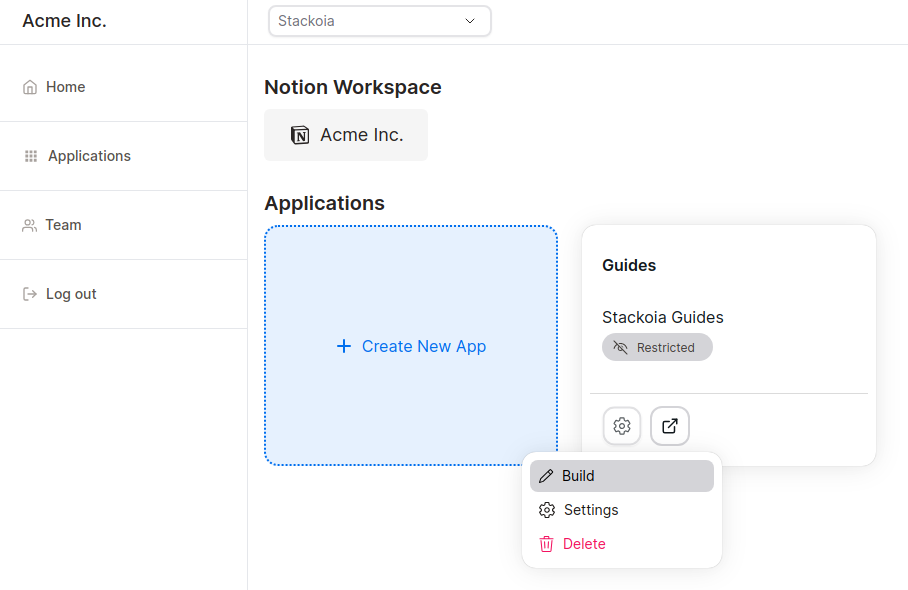
- To start, go to your organization’s dashboard to view the list of applications.
- Click on the application’s settings icon, and select Build from the dropdown:
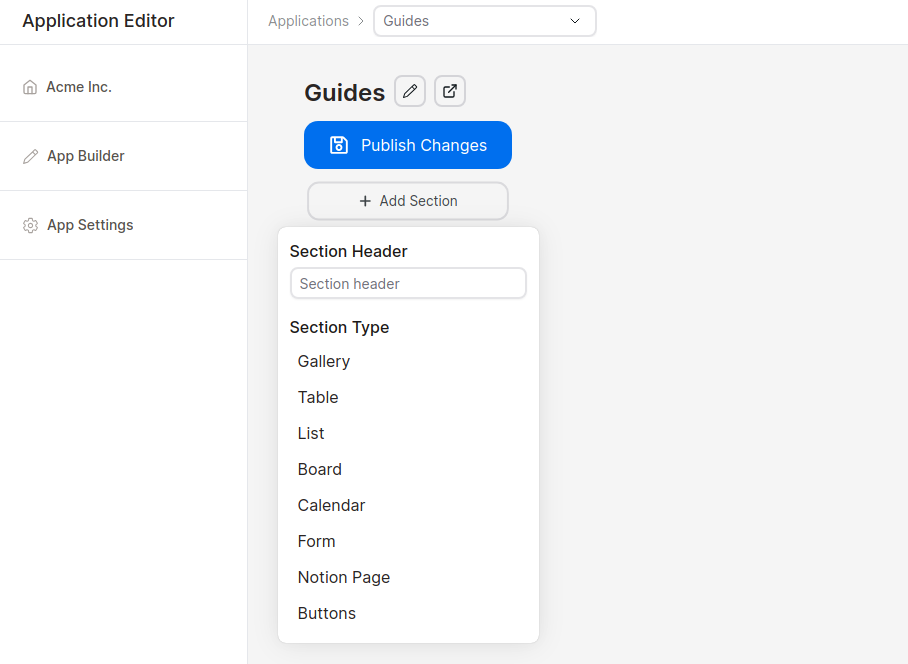
- From the Application builder, click on the Add Section button:
-
From the dropdown, input a section header (optional), and select a section type (required).
-
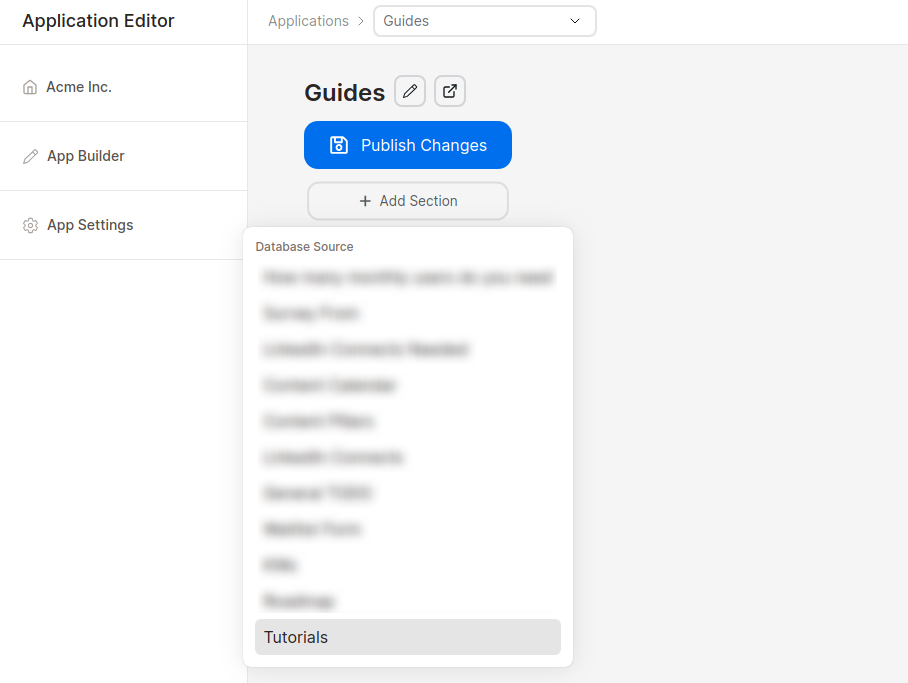
From the next dropdown view, select the database source for the section:
- The new section will appear on the app builder (it may take a few seconds):
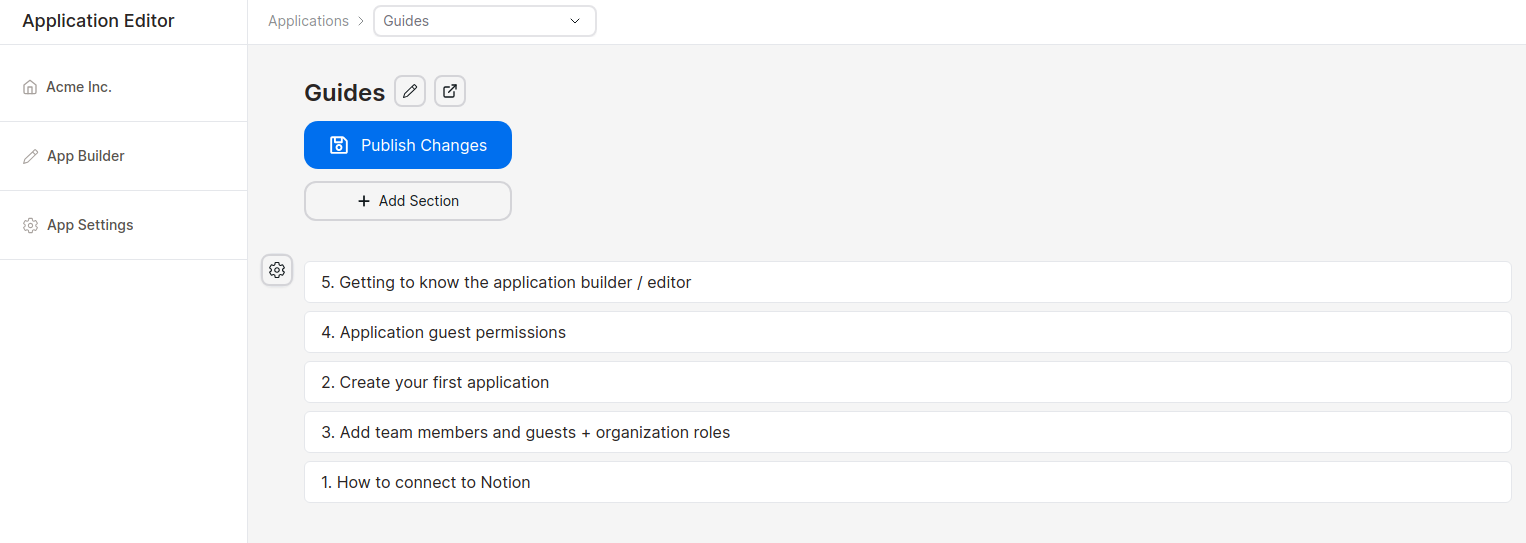
- Click on the settings icon beside the section to edit it:
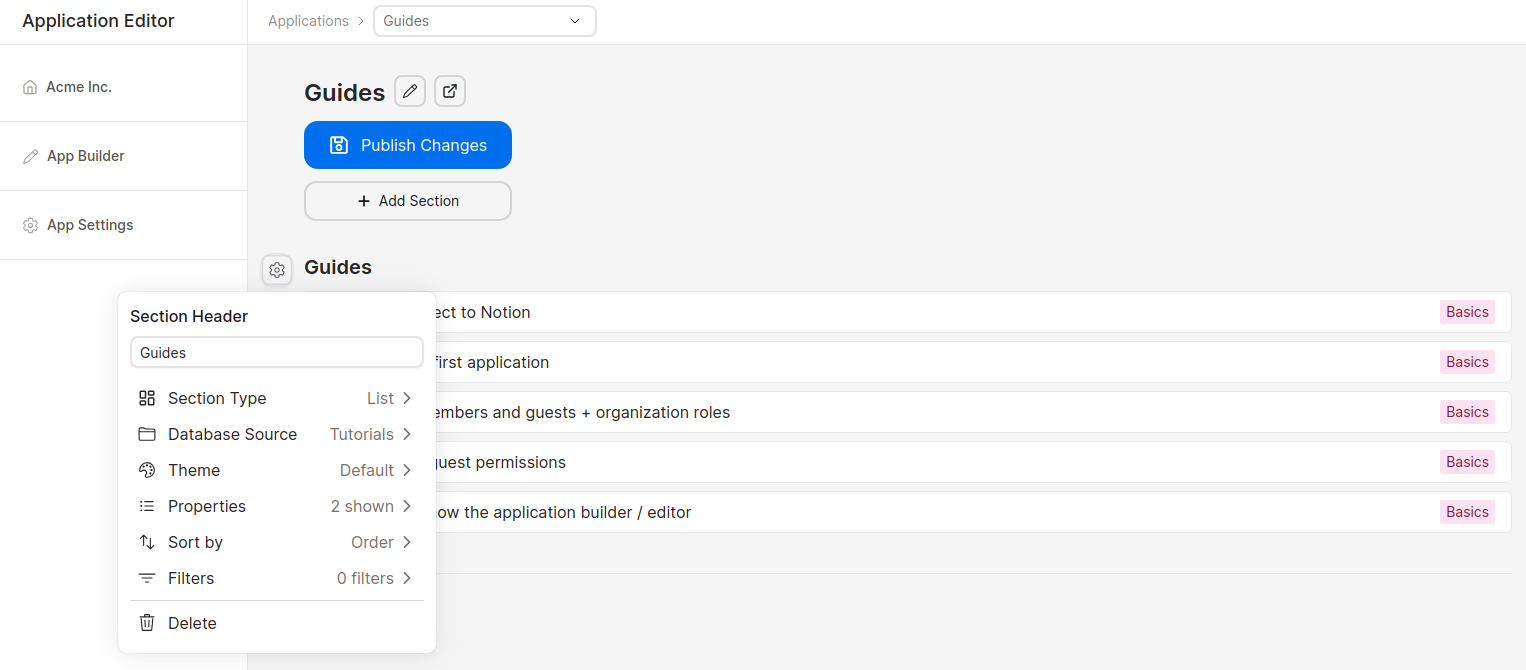
Required Section Settings
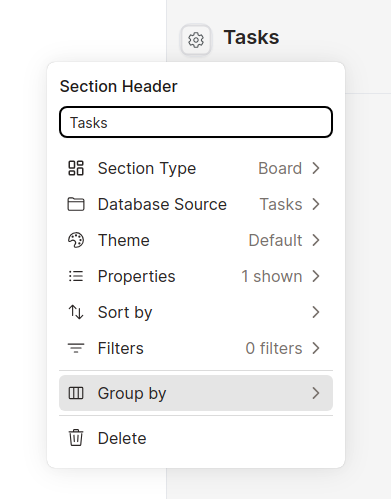
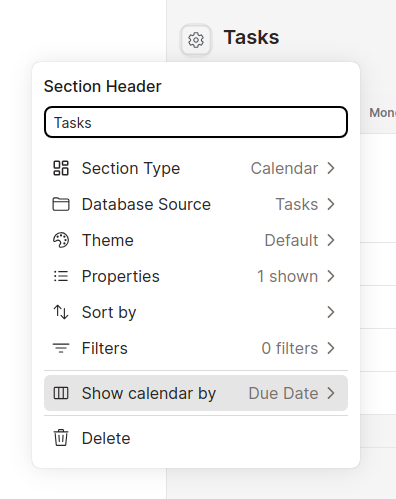
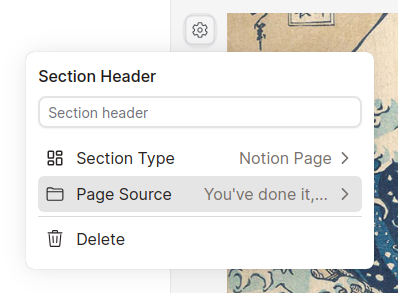
Depending on the Section Type, you need to configure more settings aside from the Database Source:
Board requires “Group by”:
Calendar requires “Show calendar by”:
Notion page requires “Page source”:
Hide and Show Properties
Initially, newly added sections only show the Title property of database items. You can customize which properties to show from the section settings:
Filter The Database
Sometimes, you don't need to show every database item. An example is when you're building a client portal and you only want to show items for that particular client.
You can add filters from the section settings:
Publish Application
And finally, don’t forget to publish your application to save your changes:
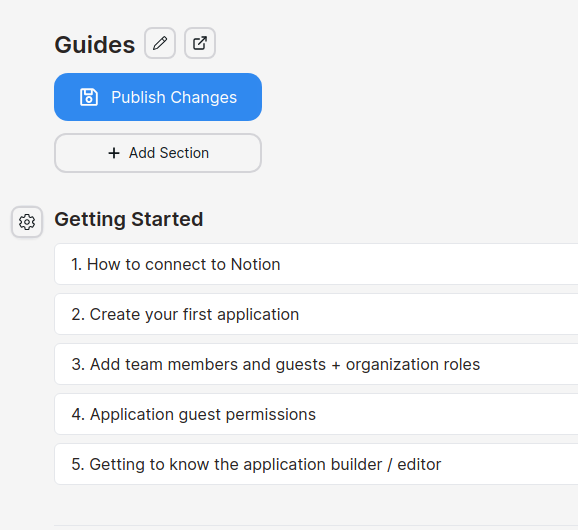
You can view the public version of your application by clicking on the link icon:
Get started for free
Create granular client portals and forms powered by your Notion data in less than 2 minutes.